Our Sourdough Adventure Part 2... The Bread Saga

As our sourdough starter finished ripening, or should I say coming alive, I was ready and waiting to bake and cook away with that starter and try new things. I still have a Sourdough Starter and bread bucket list that consists of challah, English muffins, crumpets, croissants, etc, but for now, I tried two different things and I finally got it right.
I tried two different recipes, One Artisan recipe and one regular sourdough recipe. Our family liked the regular sourdough recipe better. I may need to give the Artisan recipe another shot, but for now we're going to stick to this sourdough recipe that was a pretty basic recipe. It was easy to follow and I made some few minor tweaks which I'm still working a few more tweaks out to make everything perfect.
If you couldn't already tell, I'm a bit of a perfectionist when it comes to my cooking and using sourdough was no different. I wanted everything to be perfect. I wanted the bread to be like that Sourdough Bread you get in San Francisco. You know what I'm talking about. The kind that you eat along the pier in a warm bread bowl with warm clam chowder in it that you eat as you walk along that pier and the brisk ocean air hitting your face.
Our first batch, the artisan batch, was a FLOP. The taste was there, but the recipe said to put stoneware underneath my dutch oven. I don't own stoneware pans, however I own several cast iron dishes, so I thought this would work just fine.. Boy was I wrong... It literally burned the bottom of my sourdough, and my dutch oven is cast iron too, so we had a little extra toasty bottomed sourdough bread. The bottom was toasty, but that middle was that holey sourdough middle and the taste was amazing...
Challenge accepted... Getting the Perfect Crust... Which I still am working on. I have come to the conclusion I may need to buy myself a Le Creuset Dutch Oven, I mean if I'm going to put it to the test I need to use a different one right? The Cast Iron Dutch Oven gets super hot, so I feel like to cook my sourdough in here, I need a lower temperature than most sourdough recipes. I have tried different temperatures. One temp has gotten one round almost perfect, but still it had that toasty bottom.
My next batch I'll be trying an even lower temp in my cast iron dutch oven to see how it turns out, but for now, I want to share this recipe with you... the "Almost Perfect Bottomed Sourdough" after many trial and errors, this batch had the perfect taste. Now, if you do happen to own a Le Creuset, maybe it'll work a little differently. I don't know if the enameled cast iron causes Sourdough to come out differently or not, but I'll have to test that out on another day.
So, the low down on the sourdough making process, it is a process, so just prepare yourself now. This is not a quick add yeast and flour and let your dough rise process like a typical bread. Sourdough takes patience. Sourdough cannot be rushed. So, just set aside some time for your sourdough.
To start, you're going to need some of that active starter you've been feeding for the last 8-12 days, or even longer if you've been actively feeding your starter. My starter has been actively living in my fridge now for a month. I just take it out of the fridge as I need to use it now.
Here are a few things to consider to help your dough. Have a kitchen scale handy for making your dough. I rely strictly on weight vs. measurements for my dough. I just know the weight makes everything so exact so I rely only on weight for the bread for the perfect consistency. My secret to flour, trust me again on this one. Use that King Arther Flour... GAME CHANGER!!!! It's all I use now.
As for the equipment you'll need for making your dough, you'll need the following items:
- Mixing Bowls
- Plastic Wrap or other covering for the bowls
- Plastic spatula
- Pastry Scraper
- Bread Proofing Baskets (Banneton), colanders, or mixing bowls
- Dutch Oven
- Lame, or sharp knife
Ingredients:
For the Leaven:
2 tablespoons active sourdough starter
75 grams all-all purpose flour or bread flour (about 1/2 cup)
75 grams water (1/3 cup)
For the Dough:
525 grams water (2 1/2 cups), divided
1 tablespoon salt
700 grams all purpose flour or bread flour (5 1/2 cups)

Step 1 - Is your starter Active? Make sure that your starter is nice and active. If you usually have your sourdough in the refrigerator, then you'll need to take it out 2-3 days before you plan to bake. Feed it daily, remembering those measurements to make sure your starter is nice and active before you start to make your bread. If you usually have your starter on the counter and already have a nice active starter, go ahead and skip to Step 2. I always test my starter before it I mix everything. If the starter floats, it's ready. Below you'll see the floaty Starter in our water for Step 2.

Step 2 - Prepare your Leaven. The night before you plan on making your dough, your going to want to prepare your leaven. Remember I told your sourdough was a process. Patience Grasshopper.... Patience.... For the leaven, dissolve the starter into the water, then add flour and mix with a spatula until well combined. This batter will be thick. Cover and let sit at room temperature overnight, about 12 hours.
Step 3 - Is your Leaven Ready? Remember how we tested our starter to see if it was ready? We're going to do the same thing with our leaven. Take a small amount of the leaven and drop it into a cup of water. If it floats, then it's ready to start mixing your dough!!!
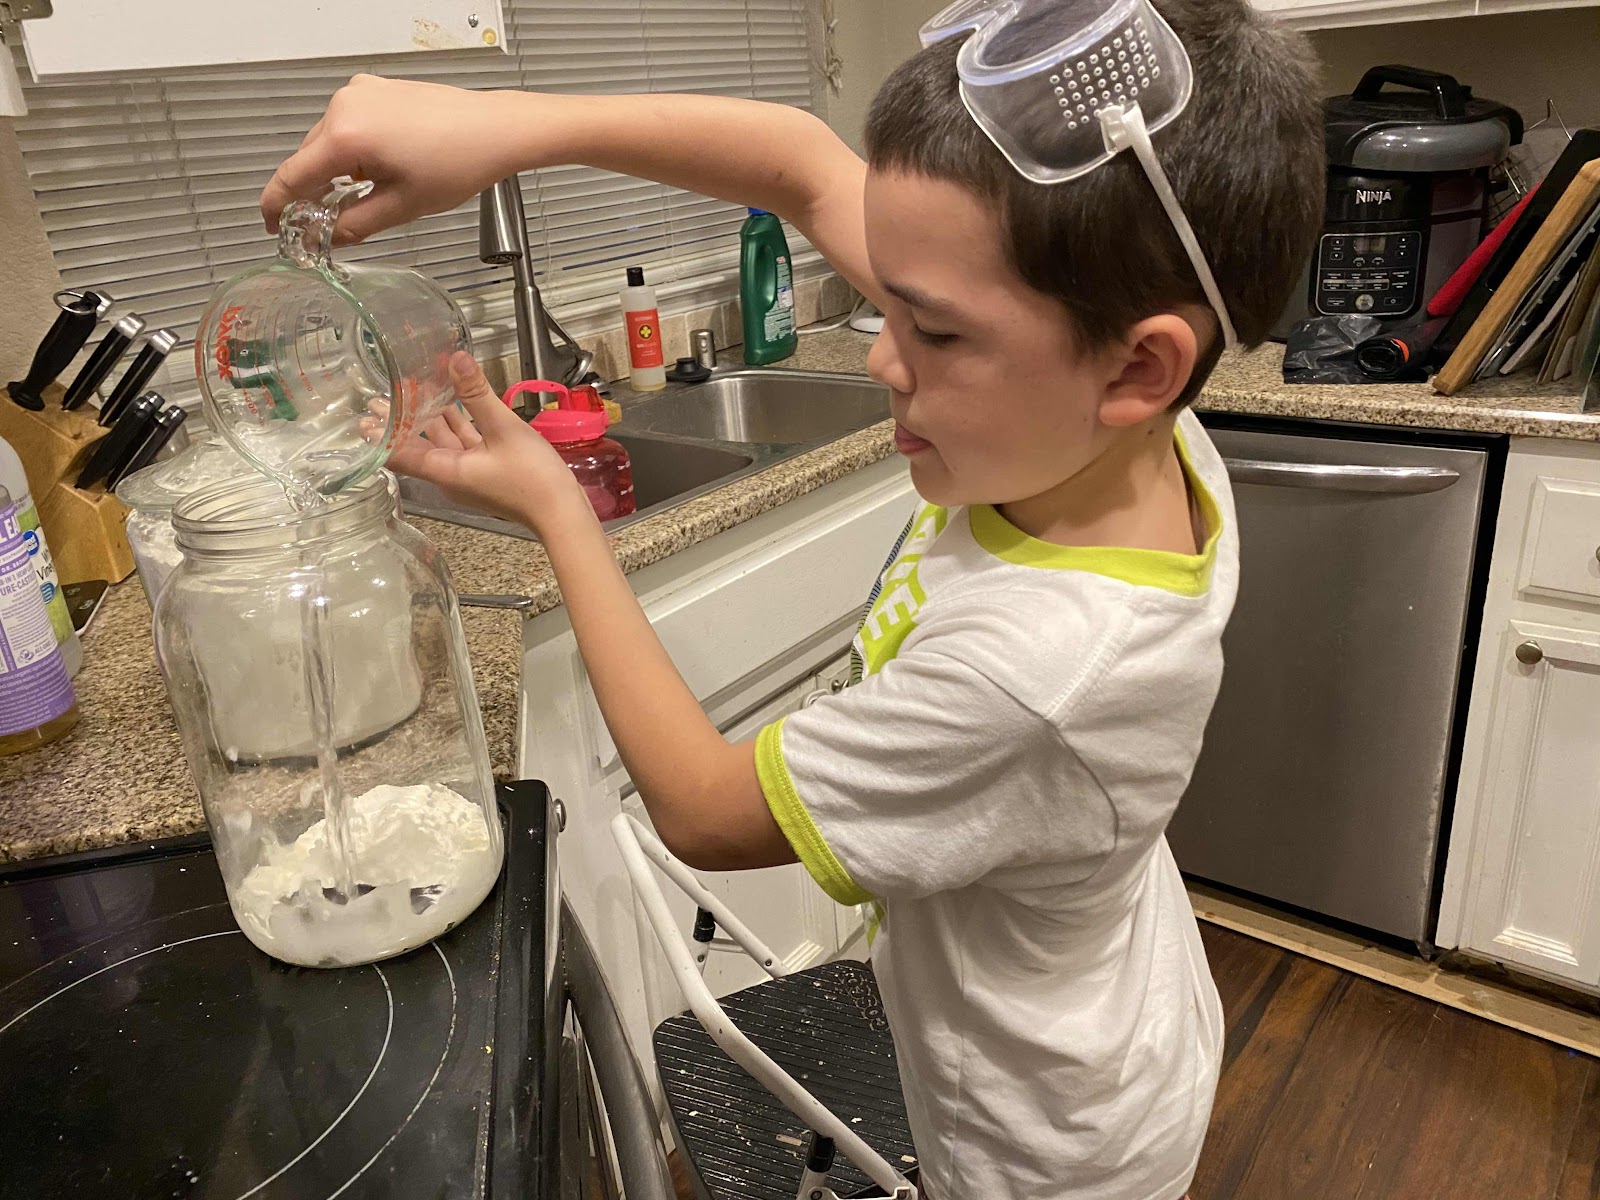
Step 4 - NOW It's time to get mixing!! (by the way, I do a lot of mixing by hand) Mix the leaven mixture with the 474 grams (2 cups) of water. Stir with a spatula until the leaven is dissolved into the water. If you're unable to break everything up with spatula, then use your hand to mix up and break up those left over bit. Please note to leave one clean hand and one mixing hand to keep it a little easier when making your dough.
Step 5 - Add the Flour. This is where you're really going to get messy with the mixing. Add your 700 grams of flour and mix with your hand until there are no more bits of dry flour and your have a very saggy dough. To get the sticky dough off your hand, I like to use a pastry scraper (mine is plastic) and then I scrape down the sides of the down and give it a quick mix pulling from one side with the pastry scraper forming a ball in the middle of my bowl.

measuring out your dough


Step 14 - Shape the loaves. Dust your loaves with flour as well as your pastry scraper and here's the fun part where we get to shape. Flip it over with a pastry scraper so that the floured side is against the board and the un-floured, sticky surface is up. I now kind of let the dough fall out from side to side. I fold over on side, and then fold the other side back over to the middle. Your dough should now be in the shape of a rectangle. I now like to roll my dough, as if you were making a jellyroll. Your going to fold and tuck towards you until you have a round shape, then you’ll use that pastry scraper to tuck in those end pieces of the roll. Use your pastry scraper to lift the dough off the board and Immediately place my dough in my proofing basket with the fold side facing up. Cover Your dough loosely with plastic wrap or place them inside clean plastic bags.
Step 15 - RISE RISE RISE LET IT RISE. Let the dough rise (3 to 4 hours, or overnight in the fridge). If you are letting your dough rise for the 3-4 hour time frame, you’ll allow your dough to rise on the counter undisturbed, however for overnight, place in the fridge overnight, at least 12-15 hours. Countertop doughs should be puffy.
Step 16 - It’s time to get our bake on! Heat the oven to 450°F. Place two Dutch ovens or other heavy-bottomed pots with lids in the oven, and heat to 450°F. I do not own two dutch ovens, so I just cook one loaf right after the over. After your oven is preheated, you’ll transfer your dough to a parchment lined dutch oven. Be very careful when removing dutch oven and placing dough inside of them because they will be extremely hot. To make it easier, I will transfer my dough onto a piece of parchment paper, score the top of my loaf with my lame or knife and then lift the parchment and place it into the dutch oven with the loaf on it. This makes it quite easy. Scoring gives your loaf distinctive lines. I like to get creative at this part.
Step 16 And now we bake.. For real this time. Cover dutch oven with lid and bake the loaves for 30 minutes. Remove Lid and bake loaf an additional 15-25 minutes until the loaves have a dry surface. A good way to tell if your loaf is done, give it a quick tap and if it sounds hollow, it’s done.
Step 17 Cool the loaves completely. When done, lift the loaves out of the pots using a spatula. Transfer them to wire racks to cool completely. Then you can slice and enjoy sourdough your favorite way.
Step 15 RISE RISE RISE LET IT RISE. Let the dough rise (3 to 4 hours, or overnight in the fridge). If you are letting your dough rise for the 3-4 hour time frame, you’ll allow your dough to rise on the counter undisturbed, however for overnight, place in the fridge overnight, at least 12-15 hours. Countertop doughs should be puffy.
Step 16 - It’s time to get our bake on! Heat the oven to 450°F. Place two Dutch ovens or other heavy-bottomed pots with lids in the oven, and heat to 450°F. I do not own two dutch ovens, so I just cook one loaf right after the over. After your oven is preheated, you’ll transfer your dough to a parchment lined dutch oven. Be very careful when removing dutch oven and placing dough inside of them because they will be extremely hot. To make it easier, I will transfer my dough onto a piece of parchment paper, score the top of my loaf with my lame or knife and then lift the parchment and place it into the dutch oven with the loaf on it. This makes it quite easy. Scoring gives your loaf distinctive lines. I like to get creative at this part.
Step 16 And now we bake.. For real this time. Cover dutch oven with lid and bake the loaves for 30 minutes. Remove Lid and bake loaf an additional 15-25 minutes until the loaves have a dry surface. A good way to tell if your loaf is done, give it a quick tap and if it sounds hollow, it’s done.
Step 17 Cool the loaves completely. When done, lift the loaves out of the pots using a spatula. Transfer them to wire racks to cool completely. Then you can slice and enjoy sourdough your favorite way.


Comments
Post a Comment