To say I love bread would be an understatement. This year we decided on more than one occasion to take up the joy of undertaking the art of sourdough. Earlier in the year, my little starter went rancid because I forgot to feed my baby, but this time around, I am committed and I plan on keeping my starter for years.
This time around with my, or should I say our Sourdough Starter, because I wanted to teach my kids some life skills and what better way to teach them these amazing life skills, then with the art of making this amazing sourdough starter. It's fun too!!!! Nicholas was totally into it! He wanted to be the "SOURDOUGH MASTER" as he called it.
So, I let him join me in the kitchen for this fun little adventure. And it's been quite the adventure of feeding our little Sourdough Baby/babies... I'll get into the babies later... Just don't do what I did and go overboard. I had I think about 6 starters at once going. I didn't think it through. LOL
I have done thorough research and I read that you can keep these babies for a really long time. One gal I read up on has had her ORIGINAL starter for six years! Yes, you heard me right, I said SIX freaking years!
The way and art to a starter is simple. Some starters call for yeast, but the reality of it is simple... YOU DO NOT NEED YEAST!!!! Yes you heard me right! YOU DO NOT NEED YEAST! All you need to make your beautiful starter is Flour and water. I thought this was incorrect when I first read it because when I was growing up, I always thought that you needed yeast and other stuff to make your starter and that you would just let it sit on the counter for a few days. I didn't know the process that actually went into the starter and that you actually had to feed it.
Just think of your starter like your little baby, if you don't feed it, it won't grow, it won't produce those beautiful microorganisms.... yes... sourdough starter is ALIVE!!!! It's so beautiful and bubbly!!!!
The Science behind Starters
It is very important on what type of flour and water you use for your starter. They can produce a better product. I am sure that a generic brand of All-Purpose Flour will work just fine, but I actually prefer to use good ole King Arthur's Bread Flour or King Arthur's All-Purpose Flour. You'll thank me later. You will need the following materials on hand for your original starter:
- A Mason Jar with Lid - You shouldn't use plastic or metal. If you do not have a lid, which I usually do not use the lid until I place my starter in the fridge (I'll explain this later). While the starter is on the counter, I cover with a thin paper towel, cheese cloth, or paper towel with rubber band.
- Flour - Here we are at our beautiful flour again. An unbleached all-purpose flour... Trust me on this one. Go with King Arthurs! It's the best! If you really wan to mix it up though, try a rye flour. The King Arthur Flour is a mix of Hard Red Flour and Malted Barley Flour!
- Water - Purified is the best. Do you have chlorinated tap water (as most people tend to)? What I like to do is actually boil water and add my water into my starter warm because it really feeds my starter and helps it grow.
Making Your Starter
It's the moment of truth. It all comes down to this... Remember these measurements. This will make it easy for you. It'll be like music to your ears and after day 3 it'll almost be like a rhythm until you start feeding this starter baby 2 times a day.
So here it is, get your large jar. Make sure that your jar is large enough to give your starter enough room to grow. Remember you're going to be feeding this starter on your counter for 7-12 days depending on how long it takes for your starter to mature.
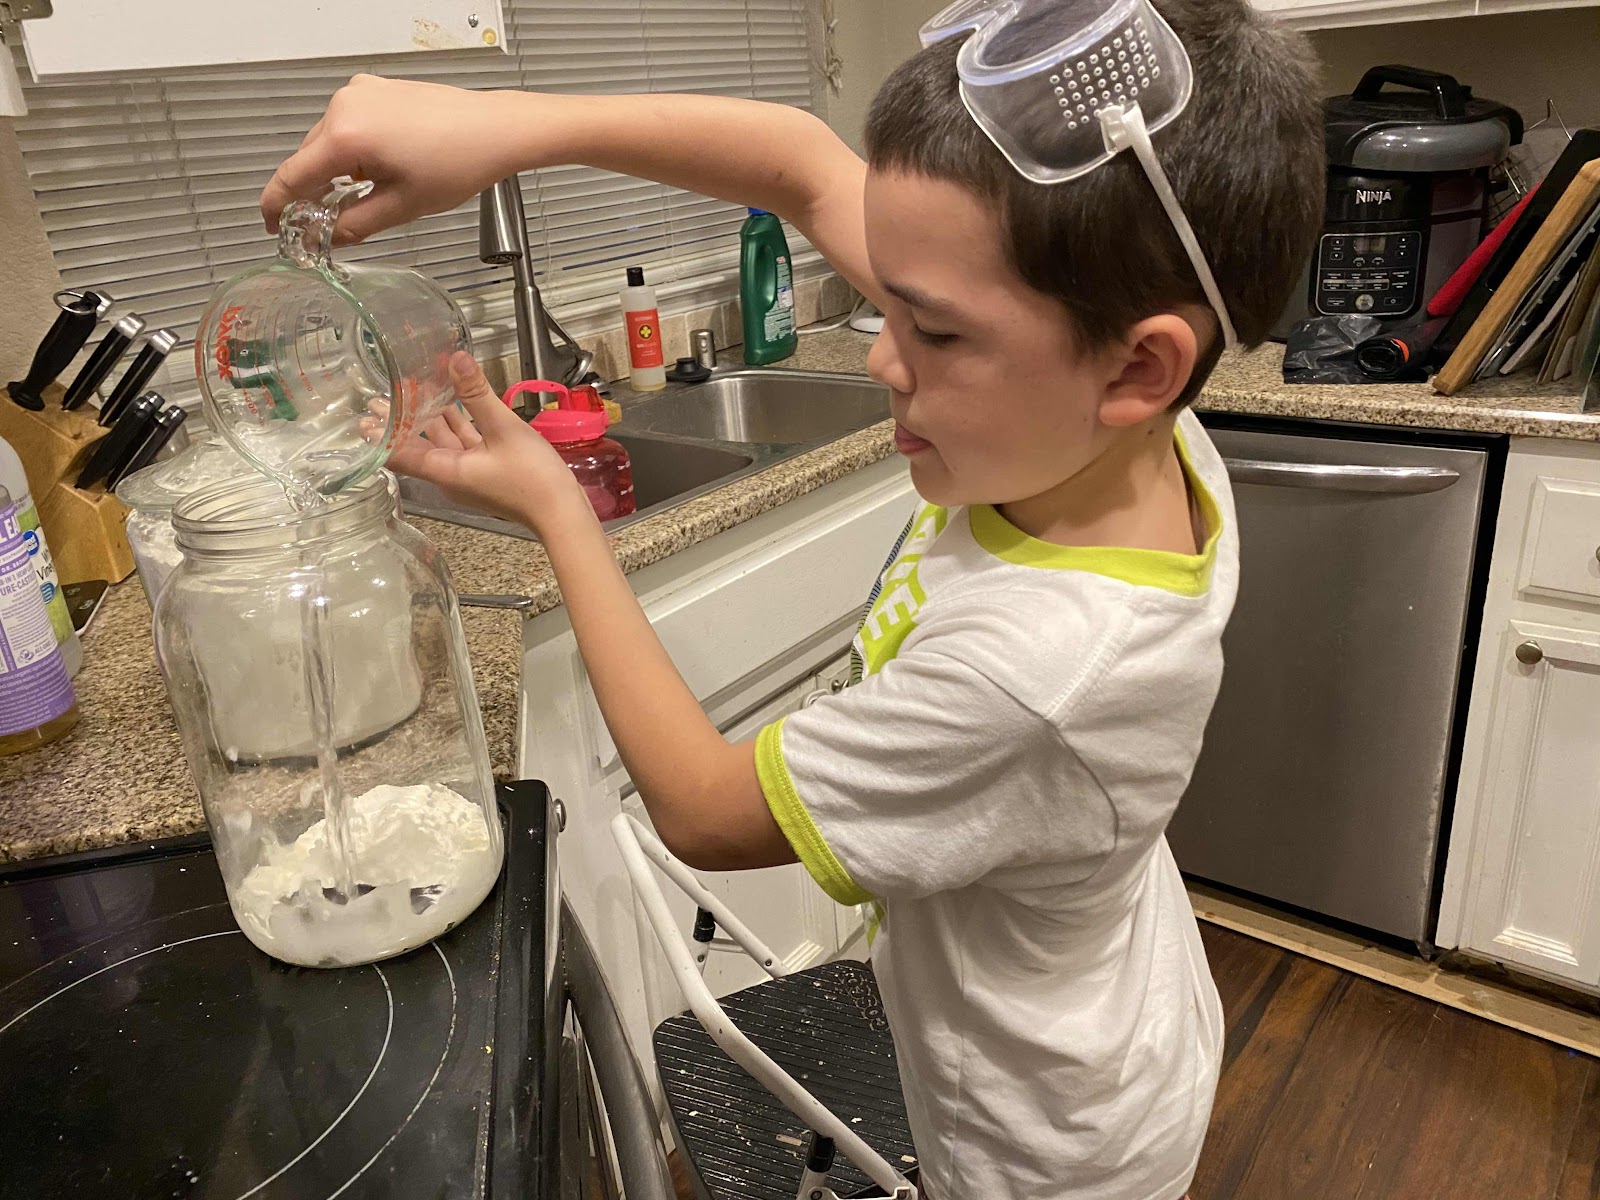
Day 1. To begin with you starter, here are the measurements you're going to remember. Imprint these numbers in your head because this is all you need to remember. 1/2 cup flour and 1/4-1/3 cup water. For the first Day, you add 1/2 cup of flour to your jar and water. Stir with a non-metal spoon. I like to use a wooden spoon when stirring my starter. Cover your mason loosely Jar for 24 hours with rubber band and cloth.
(Nicholas making sure all the measurements were right and adding them to the jar)
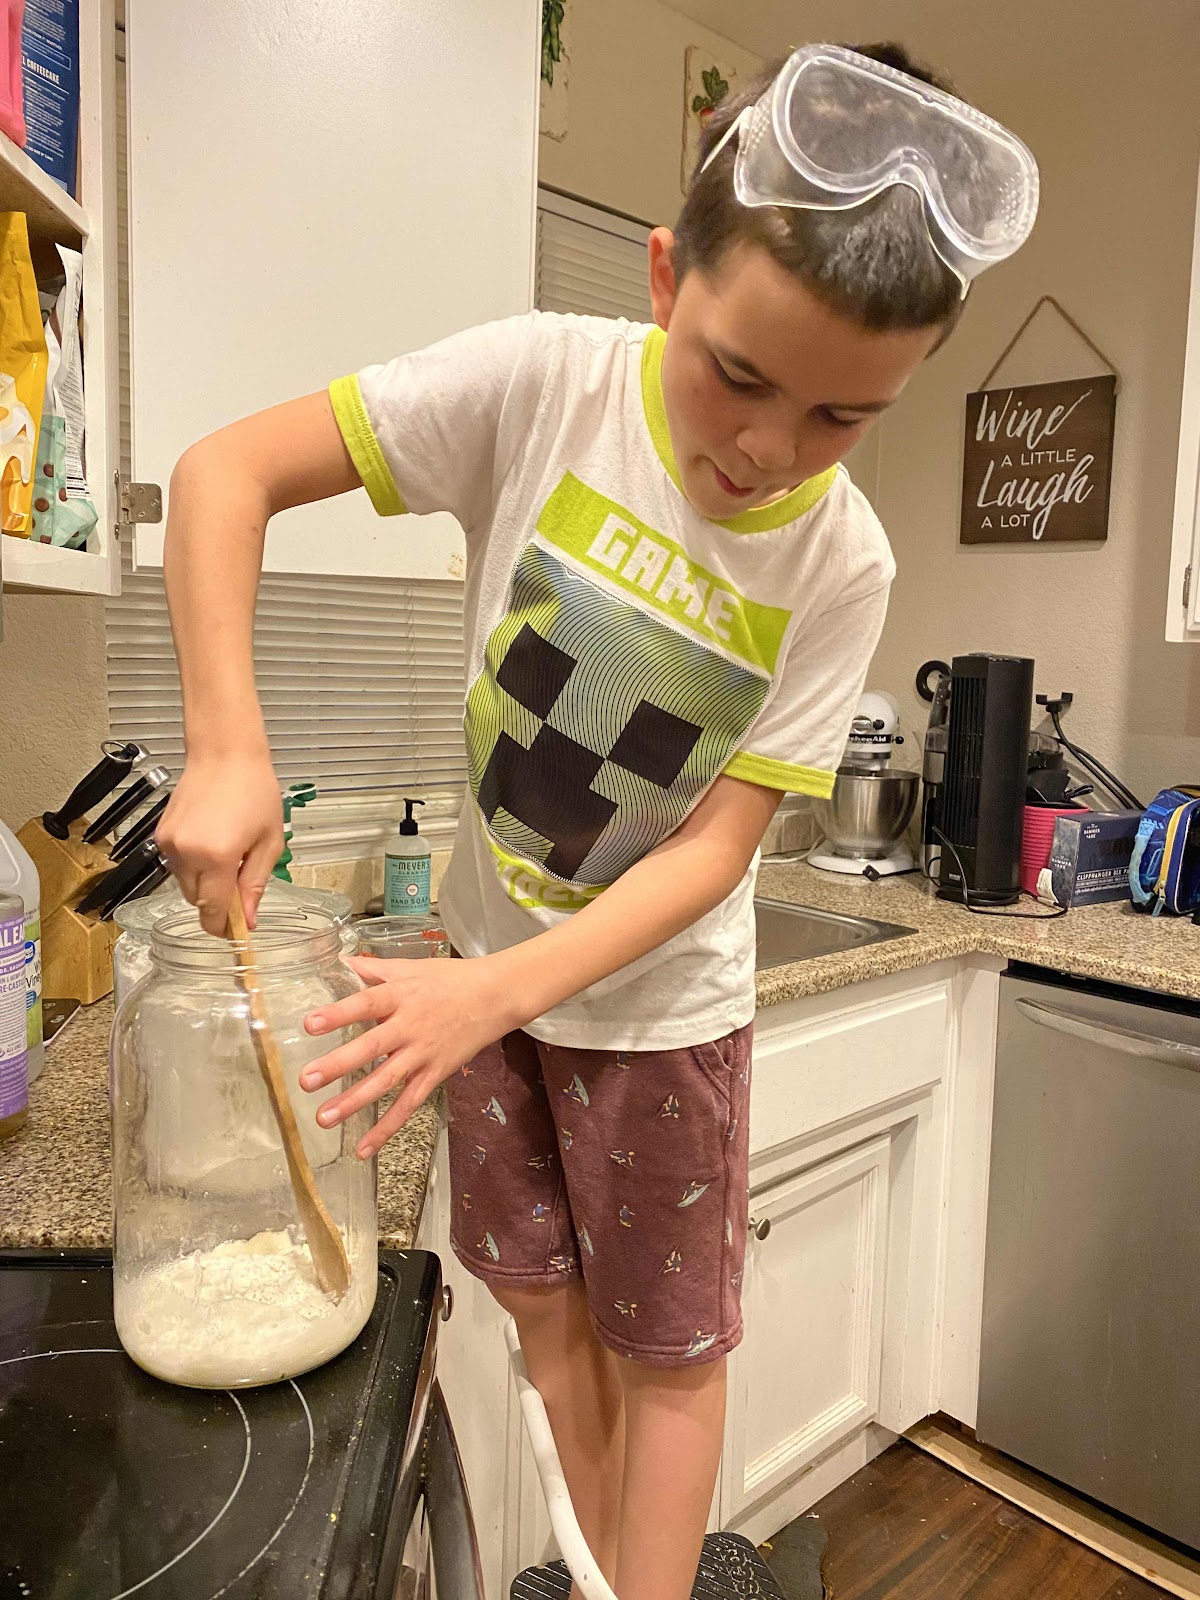
(Giving our jar a good mix to make sure all those flour clumps were mixed up.)
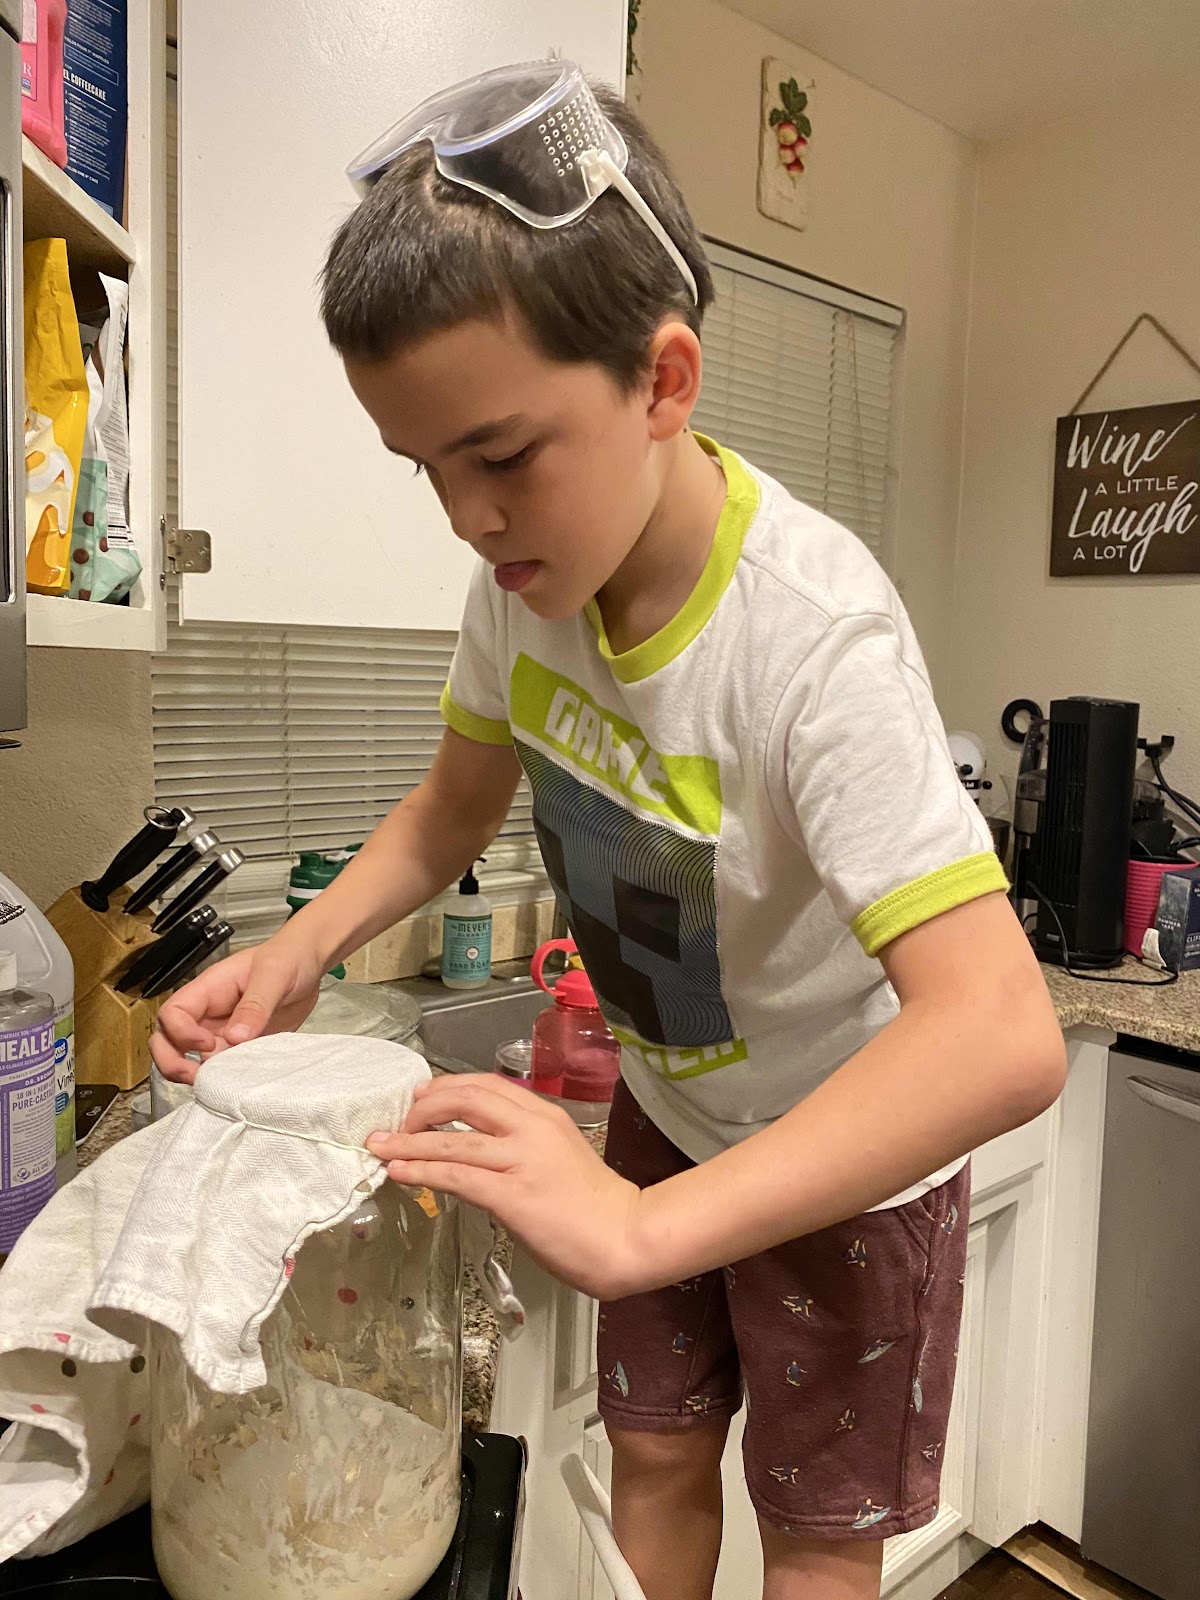
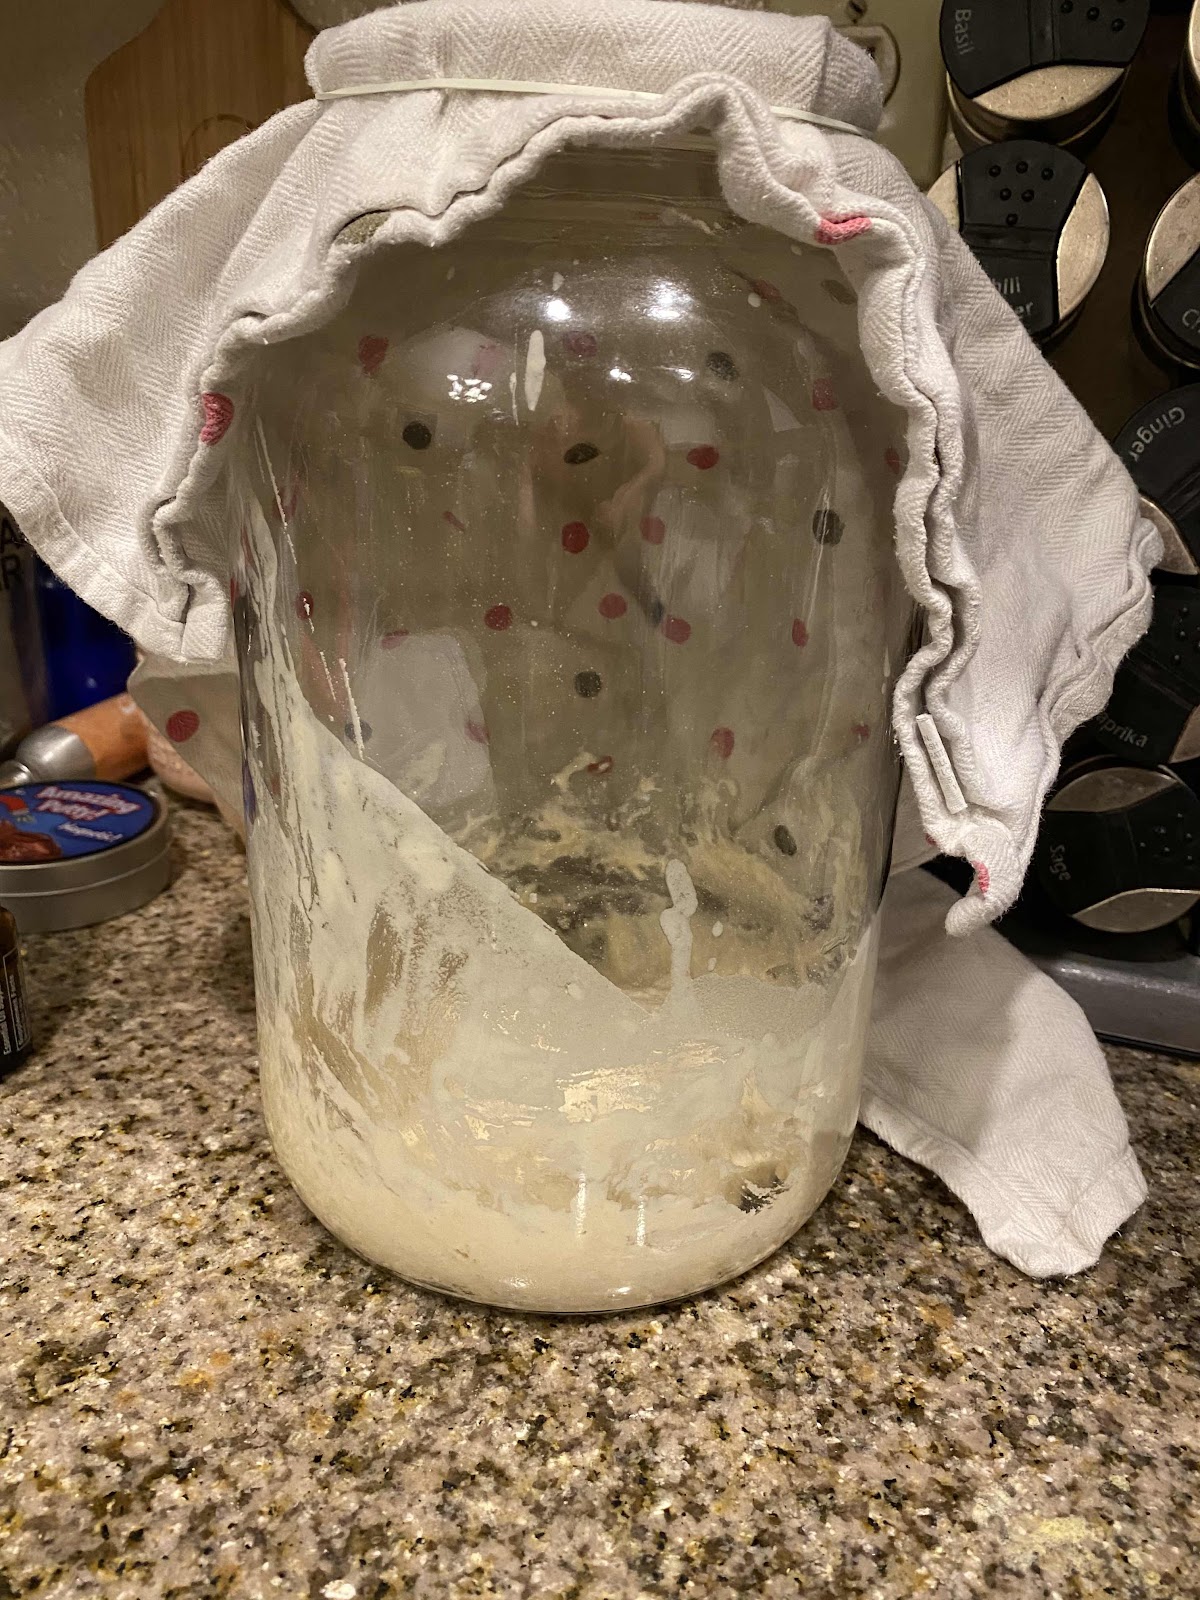
Place your starter on a warm place on your counter. Remember that your starter likes it a little warmer, so if you have a colder house, it isn't going to grow as fast. (70 degrees is best). A very cool room will definitely slow the action of the starter.
(Here is Nicholas adding the Kitchen Towel and Rubber Band to the top of our Jar)
(Day 1 of our Sourdough Adventure)
Day 2. After you have waited 24 hours, check the mixture for bubbles. If you see those beautiful bubbles, then WOO HOO!!! Your starter is ready to eat/be fed, and if not, do not fret my friend, this happens sometimes and you just have to a little longer for the beauty of science to do its work. You just have to wait another day, (or possibly two) to give your starter baby it's first feeding.
Day 3. After Another 24 hours has passed, checked for those beautiful bubbles. if you do see the little bubbles, then you're ready to feed. Discard half of your starter and feed starter with the imprinted mixture I told you to remember... Remember those numbers 1/2 cup flour and 1/4-1/3 cup water. You're going to then stir your starter again. Be sure to stir your starter thoroughly. It will look clumpy at first, but then it will smooth out as you mix. Oh, and don't throw away your discarded starter!!!! You can do so many things with starters!!!!
For the third feeding, remove half of the starter (don't throw it out!) and feed it with 1/2 cup flour and 1/4-1/3 cup water. With the discarded starter you have removed, you can start a new starter to use, or to give away to friends and family. Trust me. I have a ton of starters and I have actually run out of some of my starters because, lets just say, the art of bread is amazing!
On days 4, 5, 6 you can feed your starter twice a day and just make sure you memorize those measurements I taught you above. Remember to continue the routine (discard, then feed), until your starter is bubbling consistenly and doubling in size within 8 hours of each feeding. The way I like to determine this, is I take a marker and mark the outside of my jars, so I can see my growth on the jars.
By Day 8 our Sourdough starters were ready to jump out of our jars and ready to be used.... so of course... we did, but that's a story for another time...


Comments
Post a Comment